Healthy Meals
-
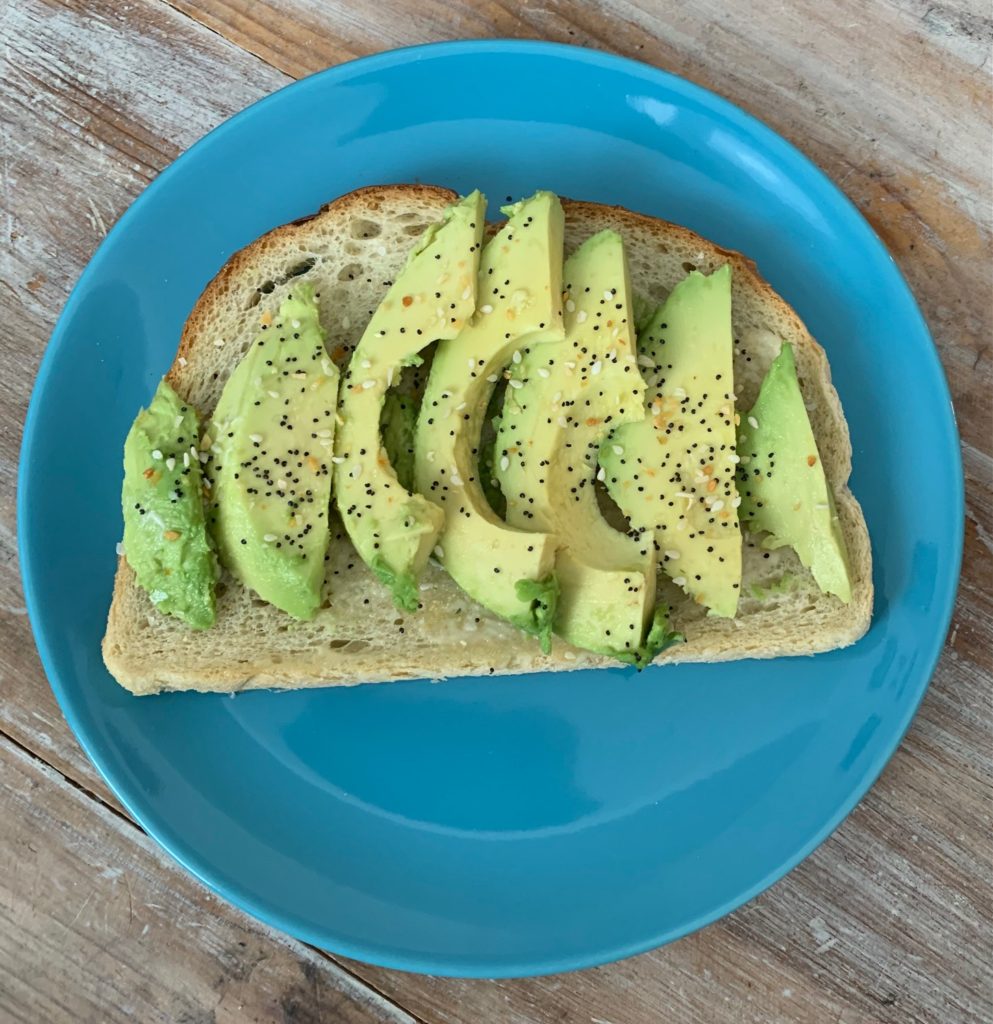
Avocado Toast
Hey Everyone!
Today’s post is a recipe for something I have become absolutely obsessed with, avocado toast. It is perfect for when you are in a rush or just need something that is quick to make. I like to make it for breakfast or lunch because it’s simple and healthy. Plus it tastes so good!!
Ingredients:
2 Slices of Sourdough Bread
1 Tbsp Spray Butter
1 Avocado
1 tsp Everything But the Bagel Seasoning
1 tsp Garlic Salt
Recipe:
- Toast your slices of bread. (Either in the toaster or airfryer on reheat).
- While your bread is toasting cut your avocado into thin slices.
- When your bread is done toasting lightly spray each slice with spray butter. (An alternative is to spread garlic or chipotle aioli on the toast instead of using spray butter, it does however make it less healthy.)
- Season your buttered bread with the garlic salt.
- Spread one half of the avocado on each slice of bread.
- Season the top with everything but the bagel seasoning.
- Enjoy.
I have been eating this at least twice a week for the last month. I am obsessed. I hope you love this recipe as much as I do. Please let me know in the comments below, if you do. If you are interested in more healthy recipes please subscribe below.

-
Perfect Fall Pumpkin Muffins
Hi Everyone!! Today, I am sharing with you a delicious recipe for pumpkin muffins that are perfect for fall. I love making these as they are easy and they make your whole house smell really good. They also taste great even after sitting for several days (if you can make them last that long)! We love to have them for breakfast or as a desert (or both honestly).
Ingredients:
1 ¾ Cups All-Purpose Flour
1 Cup Sugar (Can substitute with Stevia Powder)
½ Cup Light Brown Sugar
2 tsp Ground Cinnamon
1 tsp Baking Soda
½ tsp Salt
¼ tsp Ground Cloves
¼ tsp Ground Nutmeg
2 Eggs
1 Can (15 oz) Pure Pumpkin
½ Cup Vegetable Oil (can substitute with coconut oil)
1 tsp Vanilla Extract
½ Cup Milk Chocolate Chips (optional)
Recipe:
- Preheat your oven to 375℉.
- Place paper liners into your muffin baking pan.
- In a large bowl, combine flour, sugar, brown sugar, cinnamon, baking soda, salt, cloves, and nutmeg. Whisk together, break up any clumps.
- In a small bowl, combine eggs, pumpkin, oil, and vanilla extract. Whisk together.
- Place both mixtures into your kitchenaid (or one bowl) and whisk together until well mixed. (Add chocolate chips, if desired).
- Fill each liner slightly below the top.
- Bake for 20 minutes.
- Enjoy!
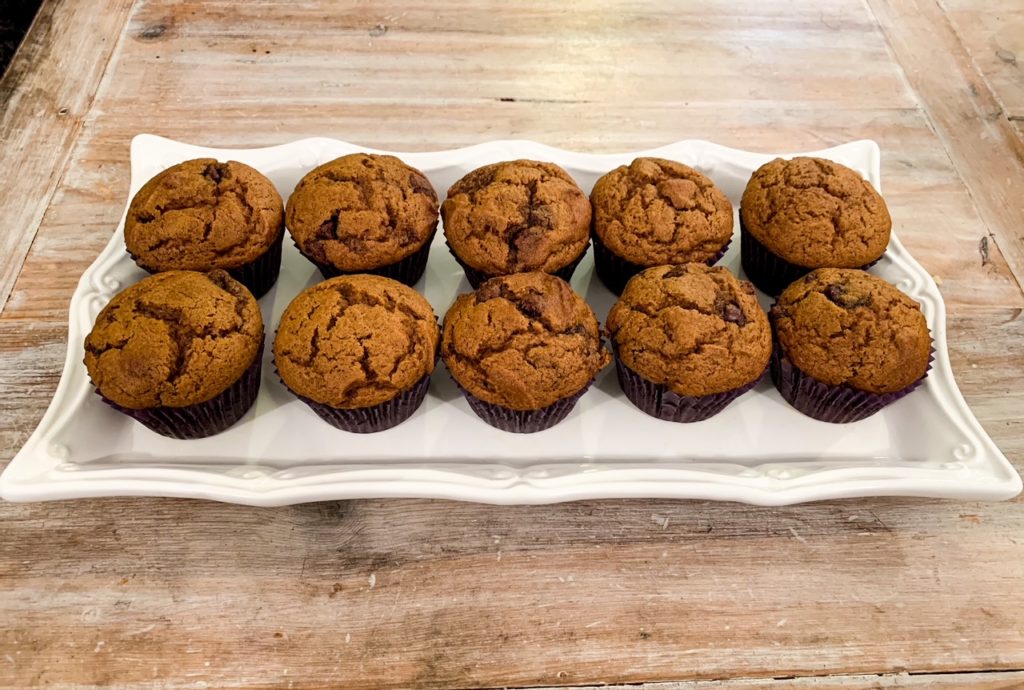
I usually get about 14 muffins per batch so you can adjust the recipe depending on how many you want! It usually takes me about 30 minutes from start to finish to make these. We absolutely love them and I think they are perfect with the fall weather. They taste just like pumpkin bread without having to dirty a knife every time you want them.
I hope you loved today’s recipe. Let me know what you think in the comments below! If you love my content please don’t forget to subscribe below!

-
Simple Shrimp
Today’s post is a recipe for air fryer shrimp. It is perfect for when you are in a rush or just need something that is quick to make. I like to make it for lunch because it’s simple, healthy, and Shane hates shrimp. That way I can enjoy it without feeling guilty that he won’t have anything to eat.
Ingredients:
2 Shrimp Skewers (Seafood Department 5 shrimp per skewer)
1 Tbsp Spray Olive Oil
1 tsp Cajun Seasoning
Recipe:
- Preheat your airfryer to 390℉.
- Spray both sides of your shrimp skewers with your olive oil spray, just a thin layer.
- Lightly season each side with your cajun seasoning.
- Lay them criss-cross in your air fryer and cook for 6 minutes.
- Enjoy!
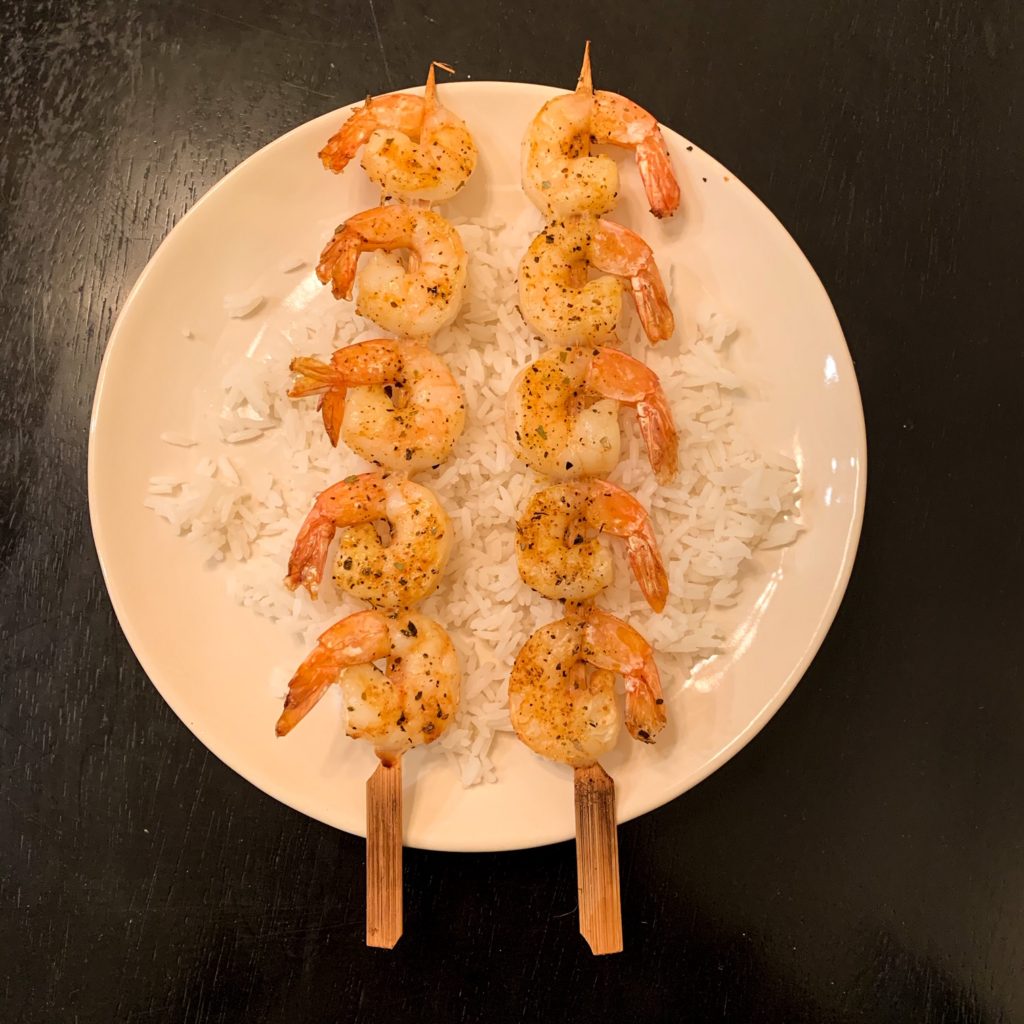
I hope you love this recipe as much as I do. I love to eat this by itself or over a plate of rice. Please let me know in the comments below, if you do. If you are interested in more healthy recipes please subscribe below.

-
Air Fryer Chicken Nuggets
Hey Everyone!
Today’s post is a recipe for air fryer chicken nuggets. We just got an air fryer and I have been so obsessed finding new recipes to try out. Shane and I eat a lot of chicken so I am trying to get more creative in ways that we can eat it. This recipe is also very good for meal prepping!
Ingredients:
2 Chicken Breasts (Cut into small cubes)
1 Tbsp Olive Oil
1 tsp Lemon Pepper
1 tsp Oregeno
1 tsp Salt
Recipe:
- Preheat your air fryer to 400℉.
- Mix all ingredients in a bowl.
- Place in a single layer in the air fryer after it has preheated.
- Cook for 8 minutes.
- Remove and serve warm!
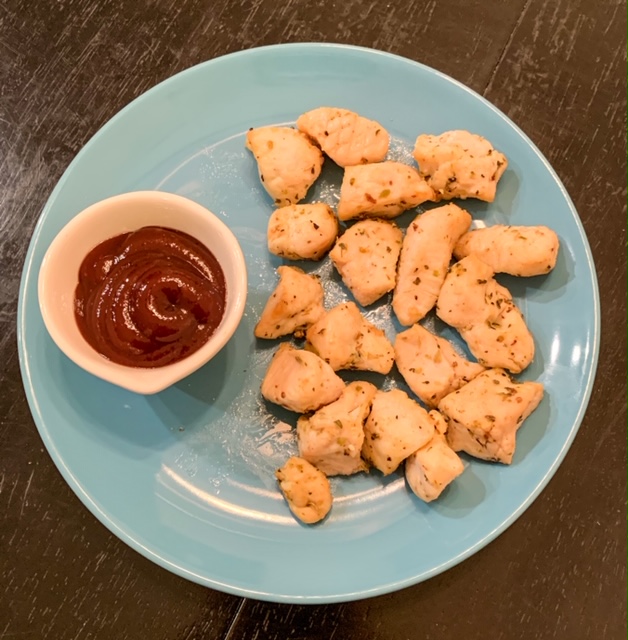
I hope you guys like this recipe as much as I do. We have been eating these a ton lately. They are pretty versatile. I like to serve them with homemade air fryer french fries, zucchini fries, steamed broccoli, steamed asparagus and baked potato. Please let me know in the comments below, if you do. If you are interested in more healthy recipes please subscribe below.

-
Mouth Watering Jalapeno Poppers
Hey Everyone!
Today’s post is a recipe for jalapeno poppers. We just got an air fryer and it is my new favorite thing. It’s so nice to be able to fry things but in a healthy way! I know that jalapeno poppers aren’t the most healthy thing in the world, but you have to enjoy life sometimes!! I got my recipe from Pinterest from cookswellwithothers.com. As always, I have tweaked it to my liking.
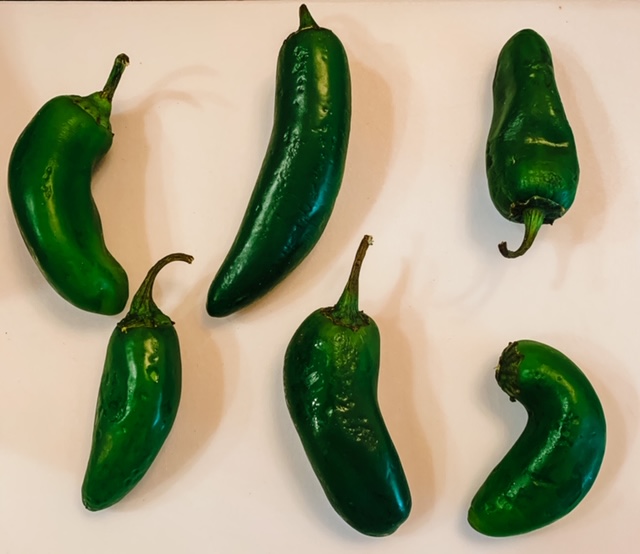
Ingredients:
¼ cup Precut Real Bacon Bits
6 oz Cream Cheese (room temp)
½ cup of Mexican Blend Shredded Cheese
6 Jalapeno Peppers
Recipe:
- Mix together the cream cheese, shredded cheese, and bacon in a bowl.
- Cut your jalapenos in half length-wise and remove all seeds.
- Preheat your airfryer to 370 degrees. Click on, then preheat, change the temperature.
- Stuff your mixture into each of your peppers. Place them cheese side up in your airfryer and cook for 8 minutes. Enjoy!
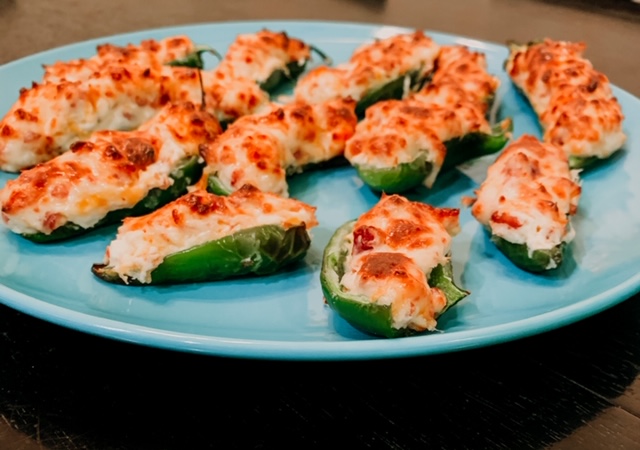
I hope you guys like this recipe as much as I do. Please let me know in the comments below, if you do. If you are interested in more healthy recipes please subscribe below.

-
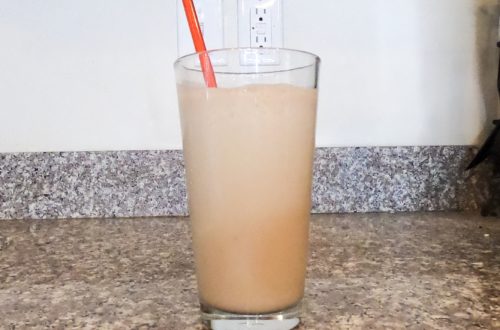
Refreshing Raspberry Lemon Smoothie
Hi Everyone!
Today, I am sharing one of my favorite smoothie recipes! It is for a refreshing raspberry lemon smoothie! It only has five ingredients so it is very easy to make. I really love it for the summertime!
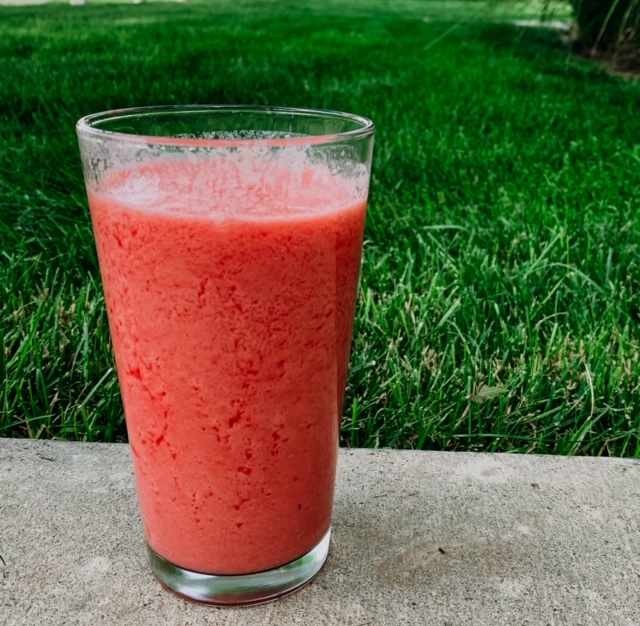
Ingredients:
1/2 Cup Lemon Juice (Fresh if possible)
1 Cup Frozen Raspberries
2 Tbsp Stevia
1 1/2 Cup Almond Milk
1 Cup Ice Cubes
Instructions:
- Combine all ingredients in a blender and select the smoothie button. Pour into cup and enjoy!
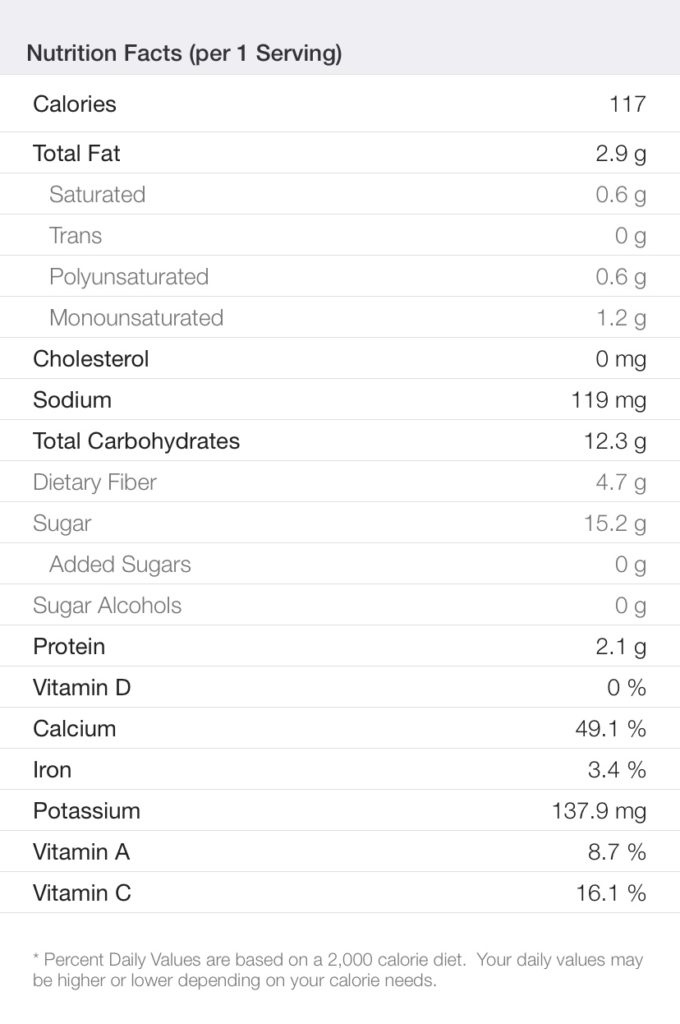
I hope you love this recipe as much as I do. I have listed the nutrition facts below! Let me know what you think in the comments below and if you love this post, please subscribe below! Thanks for reading.

-
Savory Steamed Broccoli
Hi Everyone!
Today I am talking about a healthy snack that is quick and easy to make, steamed broccoli! I know a lot of us are working from home these days and I don’t know about you but I have been browsing my pantry and fridge for snacks all day long. It’s weird how when you aren’t home you don’t feel hungry as often. The hardest part for me is trying to snack on something healthy! I have a solution to this problem, at least for some of the time.

Ingredients
1-2 Broccoli Crowns (I like the crowns because they are cheaper, usually about $1 a crown)
4 Cups Water
Spray Butter (to liking)
Salt/Pepper for Taste
Instructions
- Start boiling your water in a medium saucepan.
- While you are waiting, cut your broccoli crowns into small pieces to your preference. Add these to your steamer basket.
- Once the water starts boiling and your broccoli is in your steamer basket, place the steamer basket into your saucepan and cover. Change heat to medium. Set a timer for 10 minutes.
- When the timer goes off, remove from heat and enjoy! I like to add I can’t believe it’s not butter spray butter and salt/pepper to taste!
I always try to keep a few crowns of broccoli in my fridge, along with other fruits and vegetables so that I can eat healthier snacks. I have even found that when I make too much broccoli for a snack you can just put it in the fridge and it heats up really well. Making it even easier to choose to eat something healthy. I have added a link below to a steamer basket that is similar to mine!
I hope you loved today’s post, please let me know in the comments below. If you love my blog please subscribe below, it will help me to continue to be able to put out more content each week!

-
Sassy Salsa
Hey Everybody!
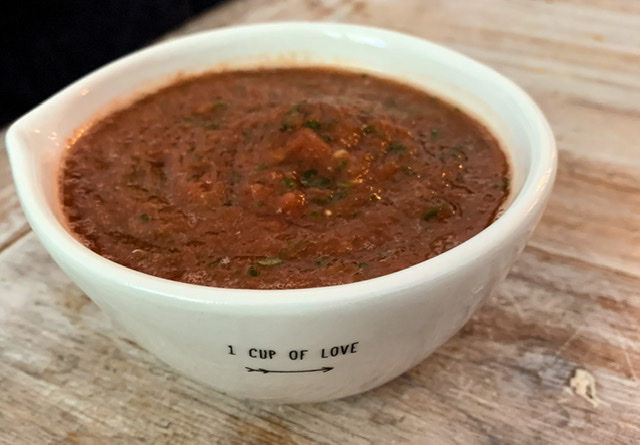
Today’s recipe is one for sassy salsa! I thought this would be the perfect timing since Cinco De Mayo was yesterday. It is super easy. I like to use it for several occasions. It is really good for a side dish, a condiment, and for potlucks. If you are using it for a side dish or condiment, I would definitely half the recipe!
Ingredients
2 28oz. Cans of Diced Tomatoes
½ tsp. Sugar
½ tsp. Salt
½ tsp. Garlic Salt
¼ tsp. Pepper
¼ tsp. Celery Salt
1 tsp. Onion Salt
2 Tbsp. Vinegar
2 Tbsp. Tapatio Hot Sauce
½ Can of Green Chilies
2 Tsp. Minced Dried Onions
½ Bundle of Cilantro
Instructions
Combine all ingredients into blender and blend on pulse for 5 Seconds. Enjoy!
I really enjoy this recipe and I hope you do too. Let me know what you think about this recipe in the comments below. If you love this please subscribe as well!

-
Honey Garlic Shredded Chicken
Hey Everybody!
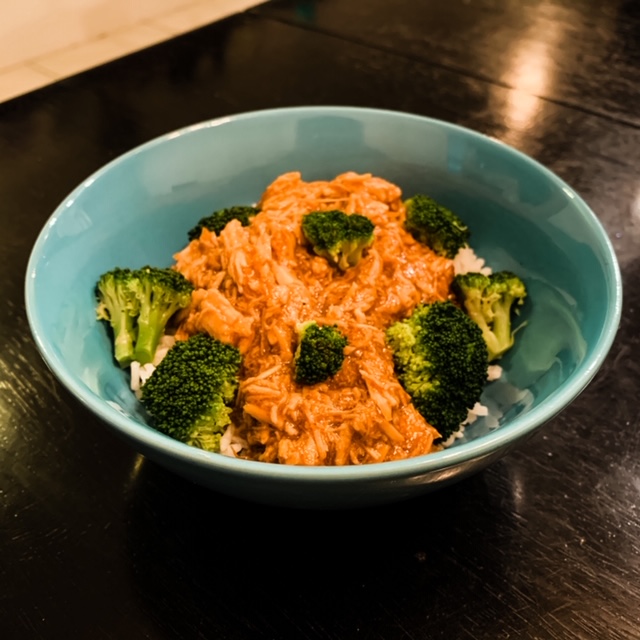
Today’s recipe is one for honey garlic chicken. I love this recipe because it is tastes so good and it’s fairly easy to make. I got the idea for this recipe partially from Pinterest but have altered it over time to make it healthier. This is another recipe for the Instant Pot.
This recipe generally takes only about 30 minutes from start to finish.
Ingredients
1 lb. Chicken Breast (thawed)
½ Cup Honey
2 Tbsp. Soy Sauce
3 tsp. Brown Sugar
1 tsp. Onion Powder
¼ Cup Ketchup
2 Tbsp. Vegetable Oil
4 Minced Garlic Cloves
3 tsp. Cornstarch
¼ Cup Water
Additional: Jasmine Rice and Broccoli
Instructions
- Set you raw chicken breasts in the bottom of your Instant Pot and season with salt and pepper.
- In a separate bowl, combine honey, soy sauce, brown sugar, onion powder, ketchup, vegetable oil, and garlic cloves. Mix well and pour over the chicken.
- Put your Instant Pot lid on and set your Instant Pot to the Meat Setting on High Pressure for 15 minutes.
- While your chicken is cooking, start your jasmine rice and steam your broccoli.
- Mix your water and cornstarch together.
- Once the 15 minutes is up, quick release. Remove your chicken from the Instant Pot and shred it.
- Add your cornstarch and water mixture to your Instant Pot and change the setting to Sauté. Mix until slightly thickened. (About 3-5 Minutes)
- Return your chicken to the Instant Pot and mix with the sauce. Serve with rice and broccoli.
I have learned a few tips while making this recipe that I would love to share with you. Shred the chicken with your KitchenAid if you have one, it’ll make your life so much easier. If you have someone to help you, one should shred the chicken, while the other is mixing the sauce. Don’t use frozen chicken, it won’t taste nearly as good and may even burn (speaking from experience). If you like a lot of sauce or want to put it on your broccoli you can double all of the sauce ingredients.
I really enjoy this recipe and I hope you do too. Let me know what you think about this recipe in the comments below. If you love this please subscribe as well!

[email-subscribers-form id=”1″]
-
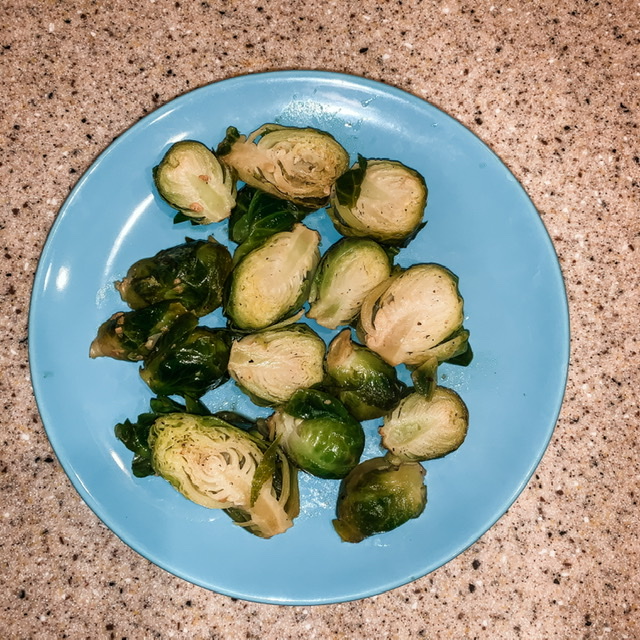
Yummy Brussel Sprouts
Hey Everybody!
Today’s recipe is one for Brussel sprouts cooked in the instant pot. I just started using my Instant Pot and I am absolutely obsessed with it now! I love this recipe because it is so easy to make and it’s very healthy. I found it on foodwithfeeling.com but I tweaked it a little for my liking. This recipe makes about four servings.
This recipe generally takes only about 10 minutes from start to finish.
Ingredients
½ Pound of Brussel Sprouts Halved
3 Cloves of Garlic (or 3 Tbsp of Garlic Powder)
2 Tbsp of Olive Oil
1 Tsp. of Salt
1 Tsp. Lemon Pepper
½ Cup of Chicken Broth
Instructions
- Turn your Instant Pot to Saute.
- Add Olive Oil and Minced Garlic, stir for about 1 minute.
- Add Brussel sprouts, salt, and lemon pepper and stir for another minute.
- Put your Instant Pot lid on and seal.
- Cook on pressure cooker normal (high pressure) for 3 minutes.
- Quick release and enjoy!!
I really enjoy this recipe and I hope you do too. I love that I can either make this as a snack after work or a side for dinner. I love having an easy healthy choice. Let me know what you think about this recipe in the comments below. If you love this, please subscribe!

[email-subscribers-form id=”1″]
