-
Smart Spaghetti
Hey Everybody!
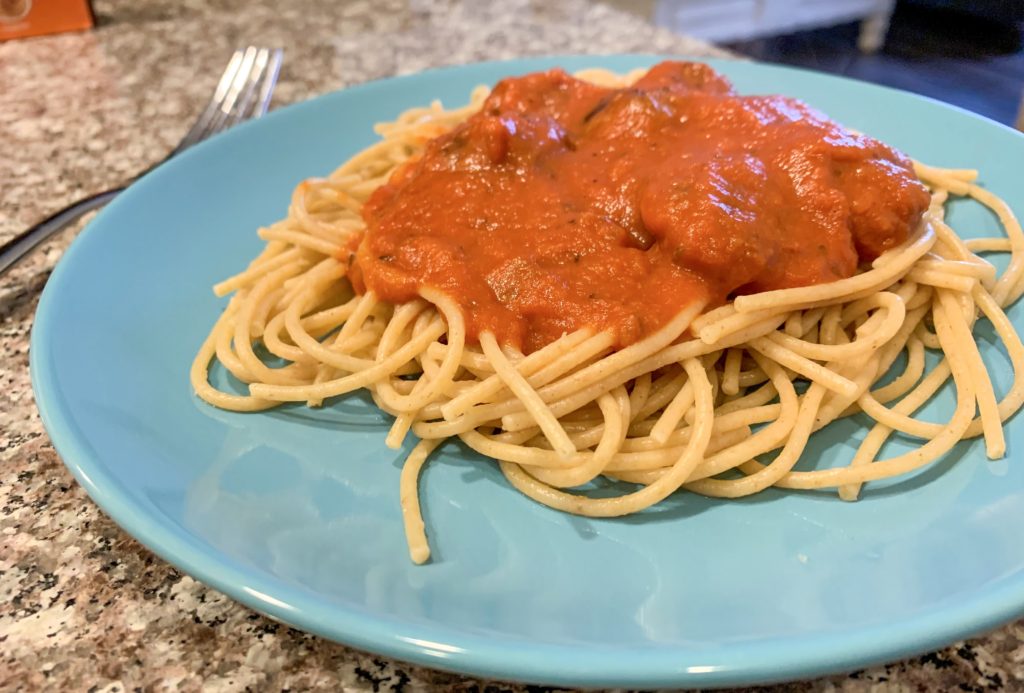
Today’s meal is a healthy version of spaghetti. It is one of my easiest meals that I make and it is also Shane’s favorite, so it’s a go to for us. We eat this at least once a week.
Ingredients
½ Box of Ronzoni 100% Whole Grain Spaghetti Noodles
1 Jar of Kroger Parmesan & Romano Pasta Sauce
2 Italian Sausages (I like Mild)
Recipe
1. Heat up a frying pan on medium heat and another medium saucepan halfway filled with water on high.
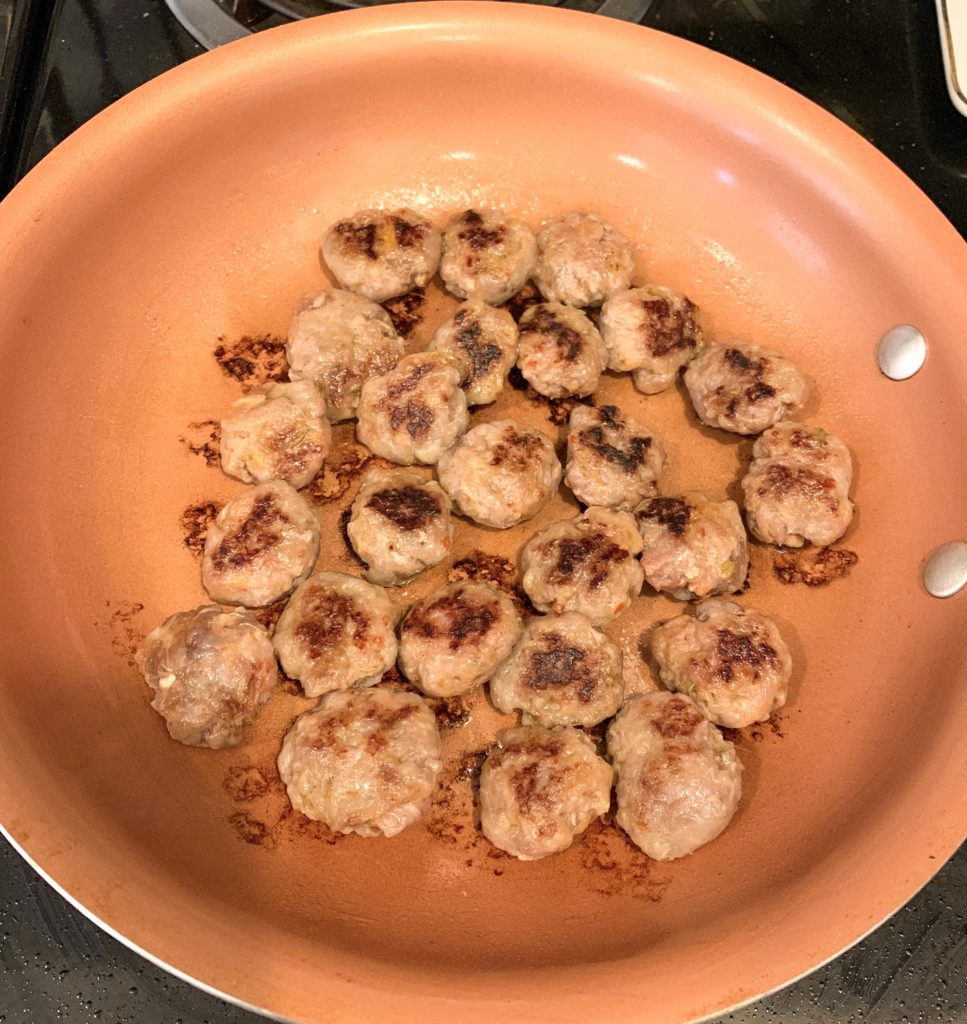
2. While these are heating, decase your Italian sausages and make them into small patties.
3. When you are finished, put them into the frying pan, so they are all laying flat next to each other.
4. The water should be boiling in the saucepan by now so add half of your package of noodles, by breaking them in half. Dash a small amount of salt into the water (to prevent sticky noodles).
5. Start the timer for 10 minutes. Stir your noodles occasionally throughout this time.
6. Your sausages should be about ready to flip over, flip one over with a fork to make sure it has cooked to your liking, then flip the rest.
7. Once all of your sausages are cooked on both sides, I put mine into a small bowl and set it aside.
8. Drain your grease from the frying pan and bring the pan back to the heat lowering it to medium-low.
9. Add your pasta sauce to the frying pan and stir occasionally.
10. Drain your noodles when the timer goes off.
11. Add your sausage back to the frying pan into the sauce.
12. Once your sauce has heated to your liking you are ready to eat.
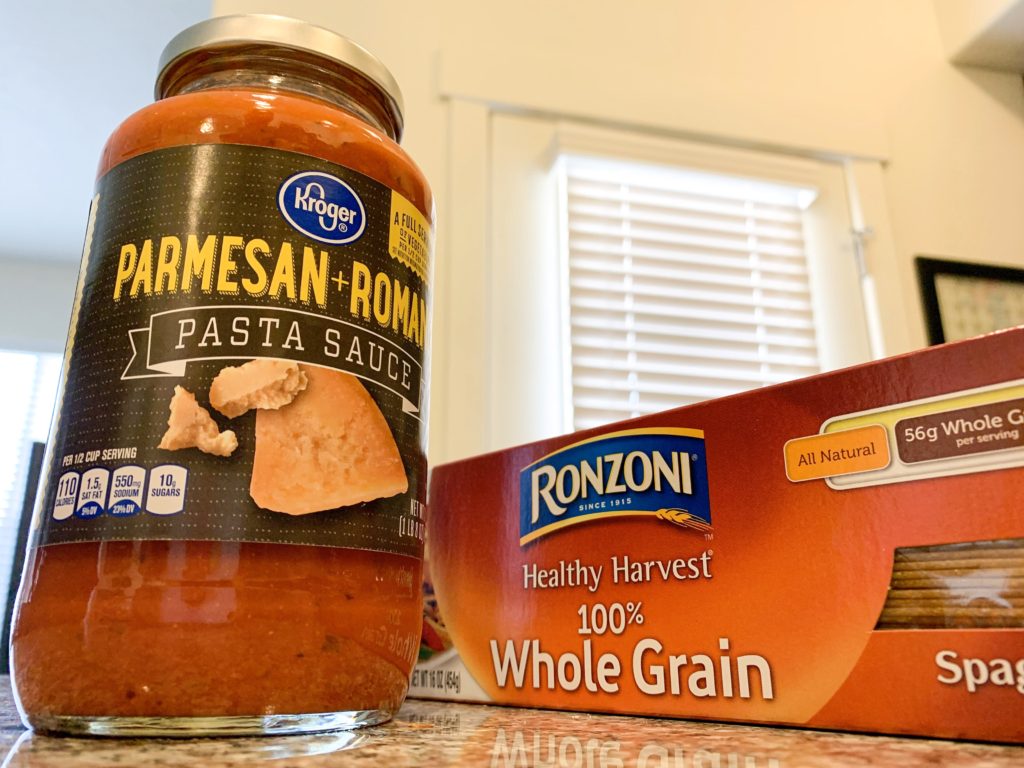
I absolutely love that this recipe only has three ingredients. It makes it very easy to prepare and to shop for. We also almost always have all of the ingredients on hand. I like to buy in bulk so that we have a little bit of a storage just in case. I also buy multiple packages of Italian sausage at the same time. When I get home I decase all of them and put them in freezer bags with two in each one. I just thaw them in the fridge each day we have this for dinner. It makes this meal very convenient.
Let me know what you think about this meal in the comments below. If you love this please subscribe as well!
[email-subscribers-form id=”1″]
-
7 Benefits of Practicing Meditation
Hi Everyone!
Today’s blog is about meditation. Meditation is a habitual process of training your mind to focus and redirect your thoughts. Healthline states that there are several benefits from meditation, they include: reducing stress, controlling anxiety, promoting emotional health, enhancing self-awareness, lengthening attention span, improving sleep, and decreasing blood pressure. I didn’t even list them all out and look how beneficial it can be for you!
I learned about meditation in high school but really began to use it in my daily life in my junior year of college. I was taking a stress management and yoga course at the same time. Being reminded of this practice couldn’t have come at a better time. I was extremely overwhelmed with everything that was going on in my life. I was working a ton of hours, going to school full time, and had recently went through a terrible breakup. I was having a really hard time turning my brain off at night. Which was really making my energy levels almost nonexistent from lack of sleep.

I learned by doing something as simple as focusing on your breath while you are laying in bed, can be considered meditating. I began doing this and whenever a terrible thought would creep into my mind, I would go back to focusing on my breath. I won’t say that it was easy but eventually I was back to sleeping through the nights.
You can start with something simple like using the breath app on your apple watch. If you don’t have an apple watch you can set a timer for 60 seconds and take deep breaths in and out for that time. It is amazing what a simple minute of meditating can do for you!
I have attached a YouTube video below of a guided meditation that is for beginners so you can learn how to meditate if it is foreign to you!
I hope you enjoyed today’s post. Let me know in the comments below!

[email-subscribers-form id=”1″]
-
Shoulder Giant Set
Hey Everybody!
Today’s workout is a shoulder giant set! So let’s go through a couple definitions to get started, they can be very confusing. A superset just means that you are going straight from exercise to exercise without rest, generally two different exercises back to back! A giant set is just like a superset, except it includes three or more exercises. You will complete all three moves without taking a break! Benefits of supersets and giant sets are: building muscles and endurance, burning fat, and boosting performance.
I use these in my workouts occasionally as I see fit. I do not recommend doing this with all your workouts as it can mess with your metabolism. Today’s workout is all about building your shoulders. I like to use 5-10 pound dumbbells depending on the day.
4 sets of 10 reps
10 Incline Bench Front Raises
10 Seated Lateral Raises
10 Seated Bent-Over Later Raises
Here is a video on how to do each of these exercises.
As always, listen to your body. If something hurts don’t do it. You can get a good workout without using weights, if using weights is too much for you. I do this whenever my shoulder is bothering me and I still can feel it.
I hope you liked today’s workout. Don’t forget to subscribe below so you don’t miss any of the workouts or meals! Thanks for your support and I will see you again next week.

[email-subscribers-form id=”1″]
-
Volumizing Hair Spray
Hey Everybody!
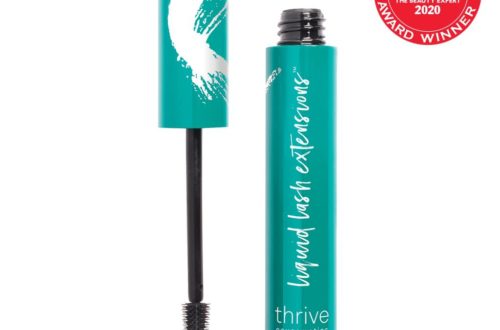
Today I am going to introduce to you one of my absolute favorite hair products. It is R&Co Trophy. It is a shine and texture spray. I must use some kind of volumizing product every day or else it looks like my hair is completely flat. I was introduced to it by my hairdresser and I’ve been addicted ever since.
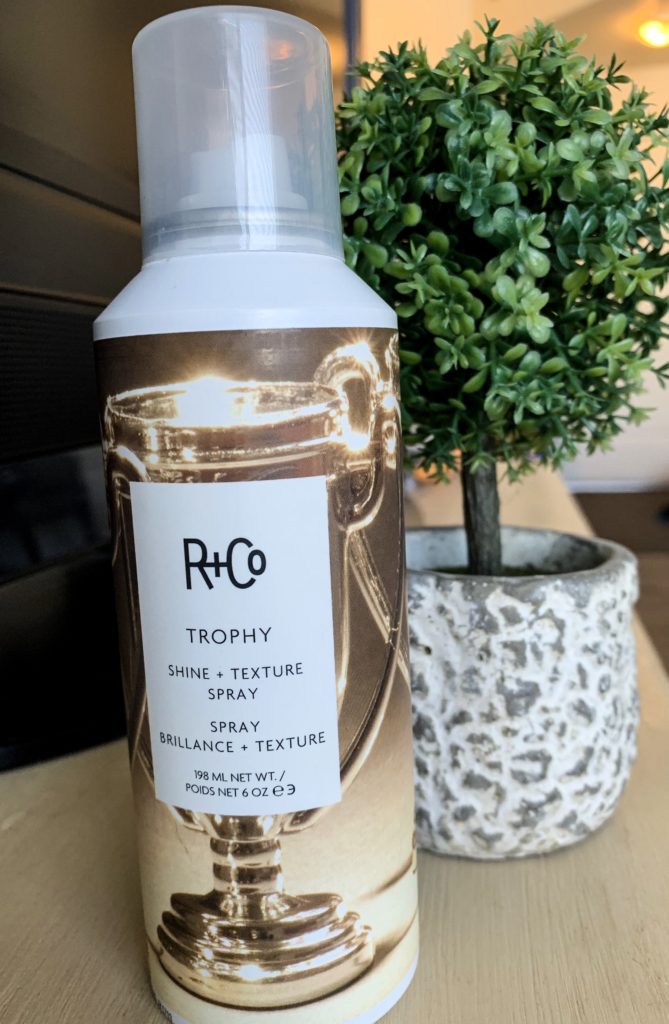
Another plus, it smells so good. A lot of the time when you get a hair product it either works OR it smells good. I can hardly ever find one that does both! I was so excited when I found this product and I think you will really enjoy it too.

I have attached the link below if you would like to try it! Thank you for reading today’s blog. I hope you enjoyed it. If you did, leave a comment below!

[email-subscribers-form id=”1″]
-
Perfect Summer Snack
Hey Everybody!
Today’s recipe is one for dried strawberries. They are super easy to make and make a great, healthy snack. Healthy snacks are often hard to find or they go bad very quickly. These are one of my favorite summer snacks. They also work very well to curb your sugar cravings!
Ingredient
2 lb. Strawberries
Instructions
- Preheat oven to 200 degrees.
- Prepare a cookie sheet with tinfoil and parchment paper (the tinfoil underneath the parchment paper), using only one will make cleaning up difficult.
- Cut the strawberries into thin slices (about 1/8 inch) from the tip up to the stem.
- Place them on the parchment paper side by side, be careful not to push them together as you will be flipping them over halfway through baking them.
- Place the cookie sheet into the oven for two hours.
- Remove from the oven and let them sit for about fifteen minutes.
- Flip them all over and place back in the oven for an additional hour.
- Let them sit overnight to dry out a little bit more.
- Place them in a container or enjoy immediately.
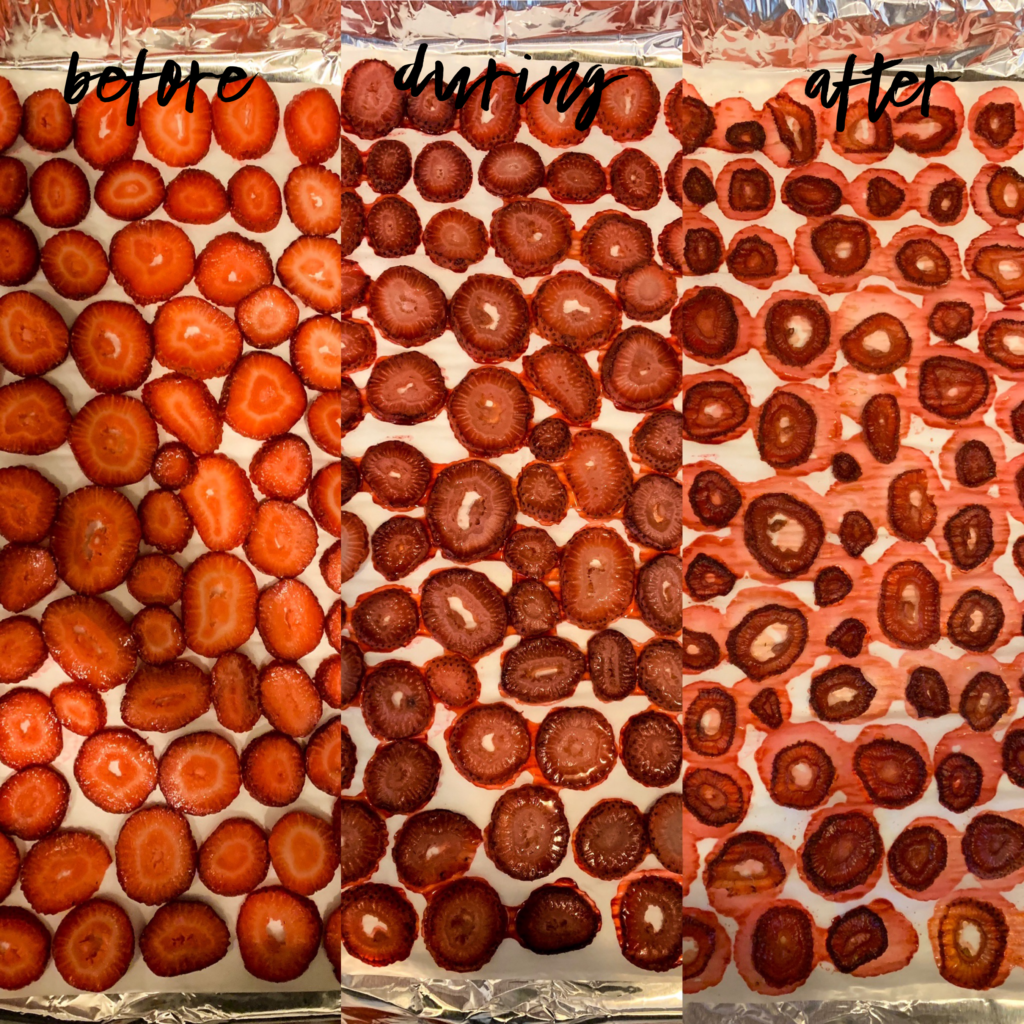
I have a few tips about this recipe that I have learned through making them several times. The thinner you can slice the strawberries the better. If your strawberries are starting to go bad in your fridge, they will work perfectly with this recipe. Without the tin foil, the strawberries make the cookie sheet very sticky and difficult to clean. Without the parchment paper, the strawberries stick to the tin foil and you cannot flip them very easily.
Let me know what you think about this recipe in the comments below. If you love this please subscribe as well!

[email-subscribers-form id=”1″]
-
Stop Overcommitting
Hi Everyone!
Today’s blog is about something I have heard about time and time again but I am finally now just getting used to practicing it in my life daily. Stop overcommitting! When you overcommit yourself, you are not only saying yes to something you probably don’t want to do but you are also saying no to something you do want to do. I have had to learn this the hard way.
Recently, I have been working at a new job full time, my old job part time, and trying to keep up with all of the activities that I want and need to do. I found myself stressing out about how I was going to keep doing all the things I wanted but still be able to keep working around 100 hours every two weeks.
I know when I am trying to do so many things it really is my sleep that suffers first. You know what that does to me? It makes me grumpy, tired, and even can make me physically ill sometimes.
So why do we overcommit to things?
Some of my answers to this question for this instance are: I want to help my coworkers out that I have been working with for years, I don’t want them to hate me, I could use the extra money, etc.
You know what questions don’t normally come to mind? How will this make me feel? What sacrifices will I have to make in order to keep this up? Do I enjoy the time I am spending doing this? If I didn’t do this would I be okay? How does this affect myself mentally and physically? Do I feel bitter toward this thing I have committed to do?
So how do we stop overcommitting? Ask yourself the above questions. Weigh your benefits and costs and determine if you really want to do it. It is okay to say no. I get pretty anxious when I tell people I can’t/don’t want to do something they want me to do. Although you may be anxious at first, it does eventually go away and let me tell you it is so worth it.
3 Steps to stop overcommitting
1. Stop and think before saying yes. Think about the above questions and if you really should do the task.
2. Allow yourself time to rest. You don’t have to be doing something all of the time. In fact, your body needs time to rest. If you are already doing too many things just say no.
3. Breathe. As I have stated above it is okay to say no. It is not the end of the world. Just take a deep breath and do it.
This week I practiced what I am preaching. I finally quit my part time job. Guess what guys? It feels so good! I know that if you learn how to stop overcommitting, you too will feel so much better!
Please let me know if you liked today’s post below in the comments. If you loved it please subscribe, I would love to share more free content with you in the future!

[email-subscribers-form id=”1″]
-
Great Glute and Hamstring Cable Workout
Hey Everybody!!
Today’s blog is a two in one! I’m sharing one of my favorite gym accessories and a great glute and hamstring workout. To be able to do these exercises you need a cable machine and ankle attachments. I have attached mine below. I haven’t found these at any gym I have been to, so it is usually best to bring your own. I love this workout for when you are tired of doing a million squats. It really helps to isolate the different parts of your glutes.
Do 4 sets of the following:
10 Cable Hip Extensions (each leg)
10 Cable Hip Abduction (each leg)
10 Cable Hip Adduction (each leg)
10 Cable Pull Throughs
I have included a video below so you can see what each of these looks like.
If you loved today’s workout please subscribe below and leave a comment. I love hearing what all of you have to say. I would really appreciate it!

[email-subscribers-form id=”1″]
-
Mouthwatering Lemon Parmesan Chicken and Asparagus
Hey Everybody!
Today’s recipe is one for mouthwatering lemon parmesan chicken and asparagus. I am not kidding you; my mouth is literally watering as I type this. This meal is so delicious, it leaves you constantly thinking about when you can have it next! As I have mentioned before, I am known to be a picky eater so getting those veggies in is so tough for me. I have learned to love asparagus because of this meal!
I got this recipe from one of my good friend’s Lars Sundwell.
He got the recipe from Chelsea’s Messy Apron, though they call it one pan lemon parmesan chicken and asparagus. I think that title is misleading as this uses many items in the kitchen in order to prepare. (Though it is well worth it every time)
This recipe generally takes about 40 minutes from start to finish.
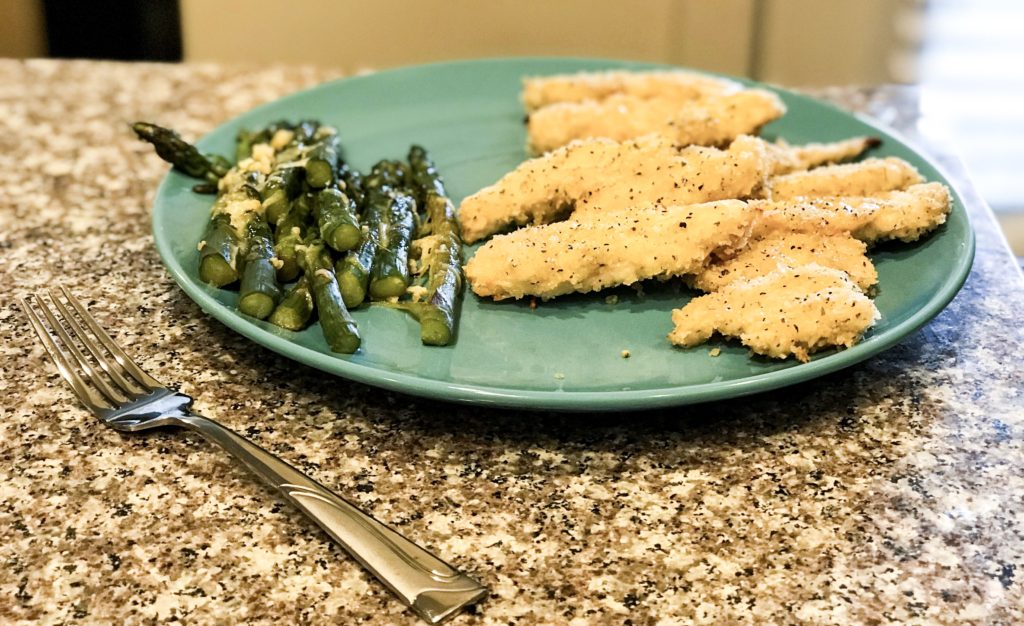
Ingredients
1 ½ pounds boneless skinless chicken breasts or tenders
1/3 cup flour
1 cup panko (found on the Asian Cooking Aisle)
1 cup parmesan cheese separated
1 teaspoon dried parsley
1/2 teaspoon garlic powder
3-4 lemons
1 tablespoon minced garlic
8 tablespoons melted butter separated
1 tablespoon lemon pepper seasoning
1 pound asparagus
3 tablespoons olive oil
3 tablespoons honey
Optional: fresh parsley, 1 lemon for topping
Instructions
- Preheat the oven to 400 degrees F. Line a large sheet pan with parchment paper and set aside.
- Grab three bowls. Add the flour to one bowl.
- Combine panko, 1/2 cup freshly grated parmesan cheese, dried parsley, garlic powder, about 1/2 teaspoon each of salt and pepper. Stir.
- In the final bowl, add 1-2 teaspoons lemon zest, 4-5 tablespoons lemon juice (depending on lemon flavor intensity desired), minced garlic, and 5 tablespoons melted butter. Stir. Remove 4 tablespoons of this mixture and set aside.
- Slice chicken breasts to the size of tenders (about 1 and 1/4th inch strips) or use chicken tenders.
- Coat in flour, heavily dredge in garlic lemon mixture, and then coat in the Parmesan panko mixture.
- Place on prepared sheet pan. Use any remaining Parmesan panko mixture and sprinkle over tenders. Sprinkle lemon pepper seasoning over the tenders (I use Mrs. Dash lemon pepper)
- Bake in preheated oven for 10 minutes and remove.
- Flip the tenders to the other side.
- Place the asparagus next to the tenders and drizzle the reserved lemon butter sauce. Sprinkle remaining 1/2 cup Parmesan cheese over the asparagus and toss with tongs.
- If desired place lemon slices over the chicken (optional)
- Return to the oven and bake for another 10-12 minutes or until the internal temperature of the chicken has reached 165 degrees F.
- Meanwhile, whisk remaining 3 tablespoons melted butter, 3 tablespoons lemon juice, 1-2 teaspoons lemon zest, 3 tablespoons olive oil, and 3 tablespoons honey in a small bowl. Add some pepper and parsley if desired.
- Remove from the oven and top with the honey lemon mixture and fresh parsley if desired and enjoy immediately.
- Do not top chicken breasts with the honey lemon mixture unless eating immediately and aren’t planning on having leftovers since it will make it soggy.
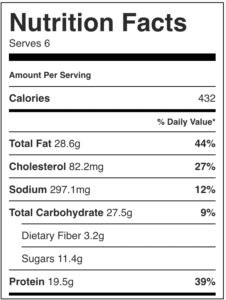
If you want to visit the original site go to: https://www.chelseasmessyapron.com/one-pan-lemon-parmesan-chicken-and-asparagus-video/
They even have a printable version of the recipe!
A few things that I have learned through making this recipe several times is that I like to steam my asparagus before baking it in the oven, if you forgot to get the lemons at the store it’s not the end of the world lemon juice works just fine, if you are cooking with your husband in the room make sure he knows that you set extra sauce to the side that you will be using (mine thought it was just another dirty dish and washed it down the drain lol).
Let me know what you think about this recipe in the comments below. If you love this please subscribe as well! You have got to try this one out. You will not be disappointed.

[email-subscribers-form id=”1″]
-
Essential for Life: Water
Today’s topic may seem overly simple but it’s extremely important! I thought it would be a good thing to talk about as summer is the most common time that people get dehydrated. Water is honestly my favorite thing to drink and I always feel so refreshed after drinking it. So, let’s do this.
Water should always be the beverage of choice, with other drinks only being an occasional substitute. The CDC states on their website that, as plain drinking water has zero calories, it can also help with managing body weight and reducing caloric intake when substituted for drinks with calories, like regular soda. In fact, I’ve stopped drinking soda all together because of how terrible it is for you. I have seen an enormous difference in my life from doing this. I’ve also learned to start drinking water when I feel like I am hungry for a snack and that usually is enough for me! Sometimes your body just thinks it’s hungry but it is really just thirsty.
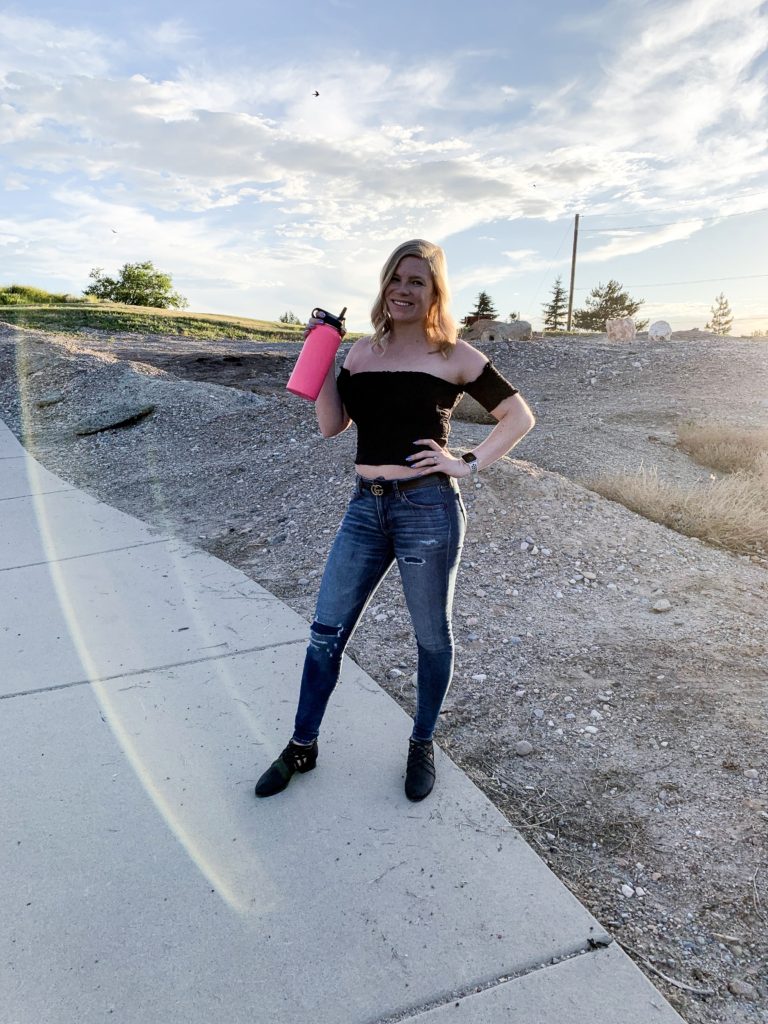
According to the National Health Institute, water represents a critical nutrient whose absence will be lethal within days. Water is literally essential for life! Did you know that your body is about 60% water at any given time? Staying hydrated is critical in order for your body to control its temperature. Water, or its lack (dehydration), can also influence cognition negatively. Drinking water can really help your body to digest food properly! You can lower your risk for many diseases through drinking an adequate amount of water. It is crazy to think of all the things that water does for your body.
It is usually recommended by doctors that you should follow the 8X8 rule. This means that you should be drinking eight, 8-ounce glasses of water a day or in simpler terms 64 ounces. Though this has actually not been proven to be the ideal amount, it is suggested that you should drink water whenever you are thirsty or your urine is a dark yellow color.
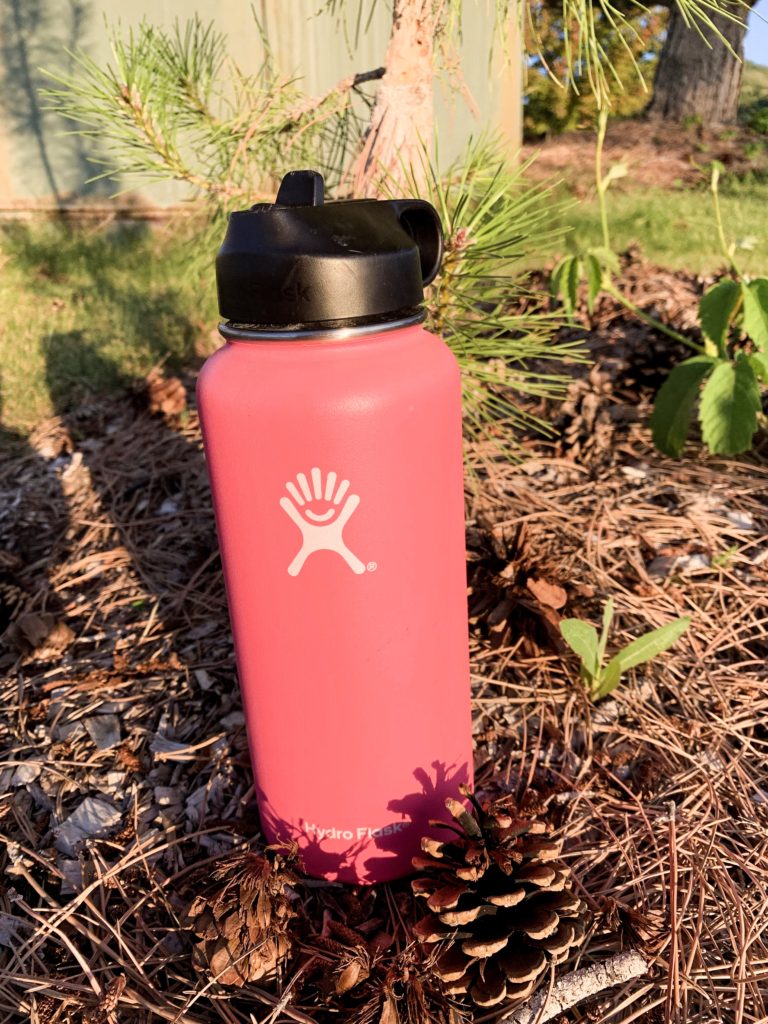
A way that I have found to help to get myself to drink more water and lesser my carbon footprint is buying a Hydro Flask. I fill it up in the morning before I go to work and again while I am at work. It keeps my water cold all day long. My current bottle is 32 ounces, so I get in my 64 ounces easily each day. I have included my exact bottle below if you would like to get one too. I also included some extras for your Hydro Flask that I love at the very bottom as well! You can really use any reusable water bottle to do this though!
Get out there and drink some water!
If you loved today’s post, please comment and subscribe below.

[email-subscribers-form id=”1″]
-
Challenging Chest Workout
Hey Everybody!!
Today’s workout is all about working out your chest! This workout is with free weights and an adjustable bench, although you could use a yoga ball in place of the bench if one is not available. I like to do these around 1-2 times a week, as it fits in my workout regimen. I love that with this workout you can change it to whatever skill level you are. You could use 2.5 pounds to 150! I like to change it up based on how I am feeling that day.
Do 4 sets of the following:
10 Incline Dumbbell Press
10 Incline Bench Dumbbell Fly
10 Flat Bench Dumbbell Press
10 Barbell Pullover
I have included a video below so you can see what each of these looks like.
If you loved today’s workout please subscribe below and leave a comment. I love hearing what all of you have to say. I would really appreciate it!

[email-subscribers-form id=”1″]
